

C purlins and Z purlins are the two standard cold-formed steel sections used for roof and wall framing in pre-engineered steel buildings. Both are roll formed from galvanized strip in depths from about 100 to 300 mm, and both carry the secondary loads of the building: roof sheeting, wall cladding, and the wind and snow acting on them. The difference lies in the flange geometry. A C purlin has both flanges pointing the same way; a Z purlin has them pointing opposite ways. That single change decides how each section overlaps at supports, how it behaves on sloped roofs, and which spans it can carry economically. This guide compares the two sections on structure, sizes, and materials, and explains how to choose between them for a given building.
What Are C Purlins and Z Purlins?
Purlins are the horizontal members that span between the main frames of a steel building. Roof purlins support the roof panels; wall purlins, usually called girts, support the wall panels. Because they repeat every 1.2 to 1.8 meters along the whole building, purlins account for a large share of the total steel weight, so the section choice has a direct effect on project cost.
C Purlin
A C purlin is a channel section: a flat web with two flanges on the same side, each finished with a small lip turned back toward the web. The lips stiffen the flanges against local buckling. C sections are symmetric about the horizontal axis of the web, which makes them stable and predictable when the load runs straight through the web plane. That is why C purlins are the default choice for wall girts, where wind load acts perpendicular to the wall, and for roof purlins on flat or low-slope roofs. At supports, C purlins are normally installed as simple spans: each piece sits between two frames, bolted to cleats, with a small gap to the next piece.
Z Purlin
A Z purlin has the top and bottom flanges pointing in opposite directions, like the letter Z. This geometry gives the section a practical advantage: two Z purlins can overlap at a support and bolt together through the webs, so adjacent spans act as one continuous member. Continuity reduces bending moments and deflection, which means a Z purlin can cover a longer span than a C purlin of the same depth and thickness, or carry the same load in a lighter gauge. The trade-off is that a Z section is asymmetric. Under gravity load on a sloped roof it tends to twist, so Z purlins on pitched roofs usually need sag bars or bridging to restrain them.
C Purlin vs Z Purlin: Structural Differences
The table below summarizes the practical differences a designer or buyer works with:
| Item | C Purlin | Z Purlin |
|---|---|---|
| Flange direction | Both flanges same side | Flanges opposite sides |
| Continuity at supports | Simple spans, no overlap | Lapped and bolted, acts continuous |
| Span capability | Economical up to about 6 m | Economical to 8-9 m with laps |
| Behavior on sloped roofs | Stable, load near shear center | Tends to twist, needs sag bars |
| Steel weight for same duty | Slightly heavier on long spans | Lighter on long spans due to continuity |
| Typical use | Wall girts, short roof spans, doors, eaves | Roof purlins on long-span frames |
The structural point that matters most is continuity. In a simple-span C purlin, the maximum moment is wL²/8 at mid-span. In a lapped Z system acting over two or more spans, the moment distribution shifts toward the supports and the mid-span moment drops. In practice this saves 10 to 20 percent of purlin steel on buildings with frame spacing over 6 meters. On short spans the saving disappears, because the lap length and extra bolts offset the lighter section.
The second point is the shear center. On a sloped roof, gravity load has a component parallel to the roof plane. A C purlin carries that component in its strong plane and stays stable. A Z purlin twists because its shear center does not line up with the load path, so designers add sag bars at mid-span or third points on slopes above roughly 10 degrees. Neither section is better in absolute terms; the roof geometry and frame spacing decide.
Standard Sizes, Thickness, and Materials
C and Z purlins follow the same size conventions. The section name gives the depth in millimeters: a Z200 is 200 mm deep. The common commercial range is:
| Section depth | Common thickness | Typical application |
|---|---|---|
| 100-150 mm | 1.5-2.0 mm | Small sheds, wall girts, door framing |
| 150-200 mm | 1.8-2.5 mm | Standard warehouses and workshops |
| 200-250 mm | 2.0-3.0 mm | Longer roof spans, heavier snow zones |
| 250-300 mm | 2.5-3.2 mm | Wide bay industrial buildings |
Flange widths are usually 50 to 75 mm and lips 15 to 20 mm, with the exact profile set by the roll tooling. Thickness tolerance matters in cold-formed design, so purlin strip is ordered to a minus tolerance of about 0.05 mm rather than the wider tolerances of structural plate.
Material is almost always galvanized strip. The common specification is hot-dip galvanized coil to ASTM A653 or EN 10346 with a Z275 zinc coating (275 g/m² total both sides) for normal environments, and higher coatings such as Z450 or a zinc-aluminum-magnesium coating where corrosion conditions are severe. Yield strength is typically 345 to 550 MPa: G450 and G550 high-tensile grades are standard in Australian and Southeast Asian markets, while S350GD and S450GD cover European projects. Using a higher yield grade lets the designer reduce thickness for the same span, which is one of the main levers on purlin cost.
How to Choose Between C and Z Purlins
The choice follows from four questions about the building:
- Frame spacing: if the main frames are 6 meters apart or less, simple-span C purlins are usually the lighter and cheaper answer once laps and bolts are counted. Above 6 meters, lapped Z purlins start to win on steel weight.
- Roof slope: on slopes above about 10 degrees, C purlins need less restraint. Z purlins still work but require sag bars, which add parts and erection time.
- Member location: wall girts are nearly always C sections because wind load acts square to the wall and simple spans are easy to detail around openings. Roof purlins are where the C-versus-Z comparison actually happens.
- Erection practice: lapped Z purlins bolt together on the ground and go up in runs, which experienced crews install fast. Where labor is less specialized, simple-span C purlins are more forgiving of mistakes.
For procurement, the practical advice is to let the frame designer fix the section and thickness from the load calculations, then buy to that specification. Switching between C and Z for the same duty rarely saves money once connection details are redrawn.
How C and Z Purlins Are Manufactured
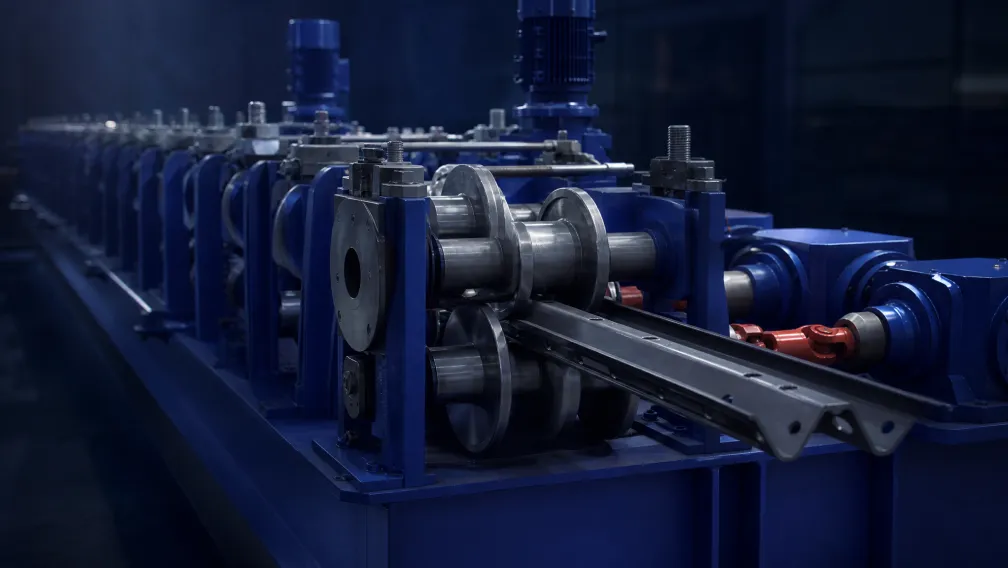
Both sections are produced by cold roll forming: galvanized coil is uncoiled, leveled, punched with the bolt holes, and passed through a series of roll stands that bend the strip step by step into the final profile at room temperature. The formed purlin is then cut to length by a flying shear or saw and stacked automatically. Line speeds of 15 to 25 meters per minute are normal, and hole positions, length, and quantity come straight from the cutting list entered into the PLC. The working principle is covered in our article on what a cold roll forming machine is.
Because C and Z profiles share the same web, flange, and lip dimensions in most building systems, the industry standard machine is the interchangeable CZ purlin line. On a CZ purlin roll forming machine, the operator changes from C to Z by rotating the forming rolls on one side, and changes depth and flange width by motor-driven adjustment, so one line covers the full 100 to 300 mm range without changing roll sets. Dedicated single-profile lines such as a C purlin roll forming machine or Z purlin roll forming machine still make sense where a fabricator runs one fixed section in high volume, because they cost less and change over faster between thicknesses.
For a fabricator quoting a new building project, the machine decision follows the same logic as the section decision: the frame spacing and section schedule of the target market decide whether an interchangeable line or a dedicated line earns back its cost faster. Our CZ purlin production solution page walks through the line layout, punching configuration, and material handling for a complete plant.
Get a Purlin Line Proposal for Your Section Range
Send us the section drawings or the depth, flange, lip, and thickness range you plan to produce, together with your target monthly tonnage, and THRONCH engineers will return a line configuration with roll pass design, punching stations, and decoiler capacity. Standard CZ interchangeable lines are completed in 35 to 50 days, and every line passes a 48-hour trial run with real galvanized strip before packing. Contact us at amy@thronch.com.
-

THRONCH
Cold Roll Forming Machine Manufacturer
THRONCH is a direct manufacturer specializing in custom cold roll forming lines and welded pipe mills. With over a decade of engineering expertise, we share technical insights and deliver high-precision